I made this card as a request for my husband. He requested this card for someone very special to him (other than me, hehe). I also decided to take the opportunity to do the PCC255: Sketch Challenge by Paper Craft Crew. Here is the card:

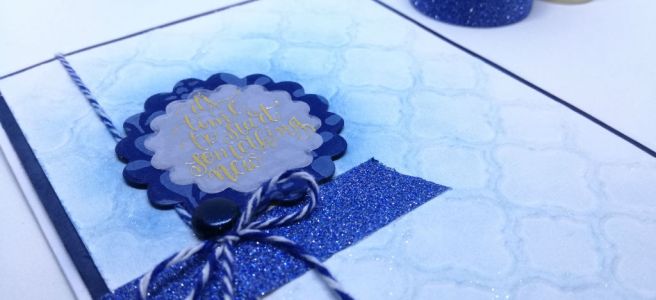
The person this card was for really loves the colour blue, so that and the sketch, was my starting point. I knew I also wanted to use this gold foil vellum sentiment that says, “it’s time to start something new” since my husband requested a card with the theme “new beginnings”.
To make the card, I first die cut the sentiment and scoured my blue patterned paper for the sentiment’s backing and die cut that. Then I cut a dark blue card stock and a white card stock to size. I then dry embossed with the lovely patterned you see on the white cardstock. My embossing folder was new and never been used before, so it was exciting to use that. Then I stuck the white cardstock onto the blue cardstock and jabbed a hole for the dark blue brad. I then stuck the brad through the hole.
Next, I cut a piece of dark blue baker’s twine and wrapped that around the card and made a neat little bow. I then placed the glitter tape over the twine and under the brad, but the bow know as in the way, so I had to undo the bow, redo the twine around the brad, stuck the glitter tape on, and finally make a bow over everything. Finally, I placed the sentiment on top.
At first I called this “done”, but it was so white and the dry emboss did not make the white stand out enough. So I took out my chalks and used a soft dry brush and brushed light and dark blue chalk onto the card, radiating from the sentiment. Afterwards, I felt it needed more, so I went over the raised edges of the white card stock with my Wink of Stella Clear shimmer pen and that really gave the card just enough dimension I needed. So that’s how the card was made!
I find that I am often scared to, as Ms. Frizzle would say, “Take chances! Make mistakes! Get messy!” What I mean is that I’m afraid to do things to my cards as I make them because I’m afraid I’m going to do too much to it and make a mistake from taking a “chance” on my whim. But I really need to listen and trust myself more. Afterall, the purpose of the cards I make are to help people be happy; to create happiness today. And part of that happiness created is in myself after a completed project I am proud to put my name on!
So I hope I inspired you to do what Ms. Frizzle says, as well as creating happiness (in yourself) today!